


Homemade Chocolate Guide: Easy Steps to Sweet Success
Welcome to a delightful culinary quest where your chocolate dreams turn into reality right in your kitchen. This chocolate making tutorial is tailored for those who adore the richness of homemade chocolate and are eager to learn how to make chocolate that rivals even the finest confections. Diving into the world of DIY confections need not be daunting. With our simple and clear instructions, you’ll have all the guidance you need to create luscious homemade chocolates that will impress friends and family alike.

Whether you’re crafting a treat for a special occasion or simply indulging in a hobby, making chocolate at home is an immensely satisfying experience. You’ll gain an intimate understanding of what goes into every delectable bite, and have the freedom to experiment with flavors and textures. Our guide will take you through the entire process, ensuring each step is pleasurable and yields scrumptious results. So, let’s set forth on this chocolate adventure together, crafting confections that speak volumes of your personal touch and creativity.
Key Takeaways
- Discover the joy of crafting your very own homemade chocolate.
- Learn the essential basics and advanced techniques of how to make chocolate.
- Follow our step-by-step chocolate making tutorial for guaranteed sweet success.
- Understand the importance of quality ingredients for exquisite homemade chocolate.
- Unlock the potential to customize flavors and textures in your chocolate creations.
- Gain valuable skills that will allow you to make chocolate like a seasoned chocolatier.
- Enjoy the process of making chocolate at home, from bean to bar.
Preparing Your Chocolate Ingredients
Embarking on your homemade chocolate journey begins with an understanding that the foundation of a remarkable chocolate recipe lies in the quality and type of ingredients you select. Each component, from the cocoa beans to the sweeteners and flavor enhancers, plays a critical role in shaping the final taste and texture of your chocolate creation.

Selecting the Right Cocoa Beans
Choosing the right cocoa beans is a crucial step in chocolate making. Sourcing high-quality beans can impact everything from the chocolate’s flavor profile to its mouthfeel. The origin of the beans, as well as the fermentation and drying processes they’ve undergone, will each contribute to the distinctive characteristics of your chocolate.
Understanding Cocoa Percentages
The cocoa percentages in your chocolate dictate the intensity and depth of flavor. A higher percentage signifies a larger amount of chocolate liquor and less room for additional ingredients like sugar or milk powder, resulting in a darker and more robust chocolate. It’s essential to decide on the cocoa percentage that aligns with the taste experience you’re aiming for.
Choosing Sweeteners and Flavor Enhancers
Your choice of sweeteners and flavor enhancers can transform a simple chocolate mixture into a confectionery delight. From classic cane sugar to unique alternatives like coconut sugar or maple syrup, sweeteners not only alter the sweetness but can also add subtle undertones to your chocolate. Flavor enhancers such as vanilla, cinnamon, or sea salt, although used sparingly, are powerful in elevating the sensory richness of the finished product.
How to Make Chocolate: The Basic Steps
Are you ready to embark on your chocolate making at home adventure? Perfecting the chocolate making process can be both exciting and rewarding. Let’s explore the fundamental steps that will guide you through how to make delectable DIY chocolate.
The first step in your journey is roasting the cocoa beans. Roasting is essential as it brings out the rich, deep flavors inherent in the beans. Carefully monitor the temperature and time to avoid burning them, which can result in bitter flavors.

Moving forward, after you’ve achieved a perfect roast, it’s time to crack and winnow the beans. This process involves removing the outer shell of the beans and separating the nibs, the true gold in the chocolate making process. Patience and precision are your allies here, ensuring that the nibs are clean and free from any shell remnants.
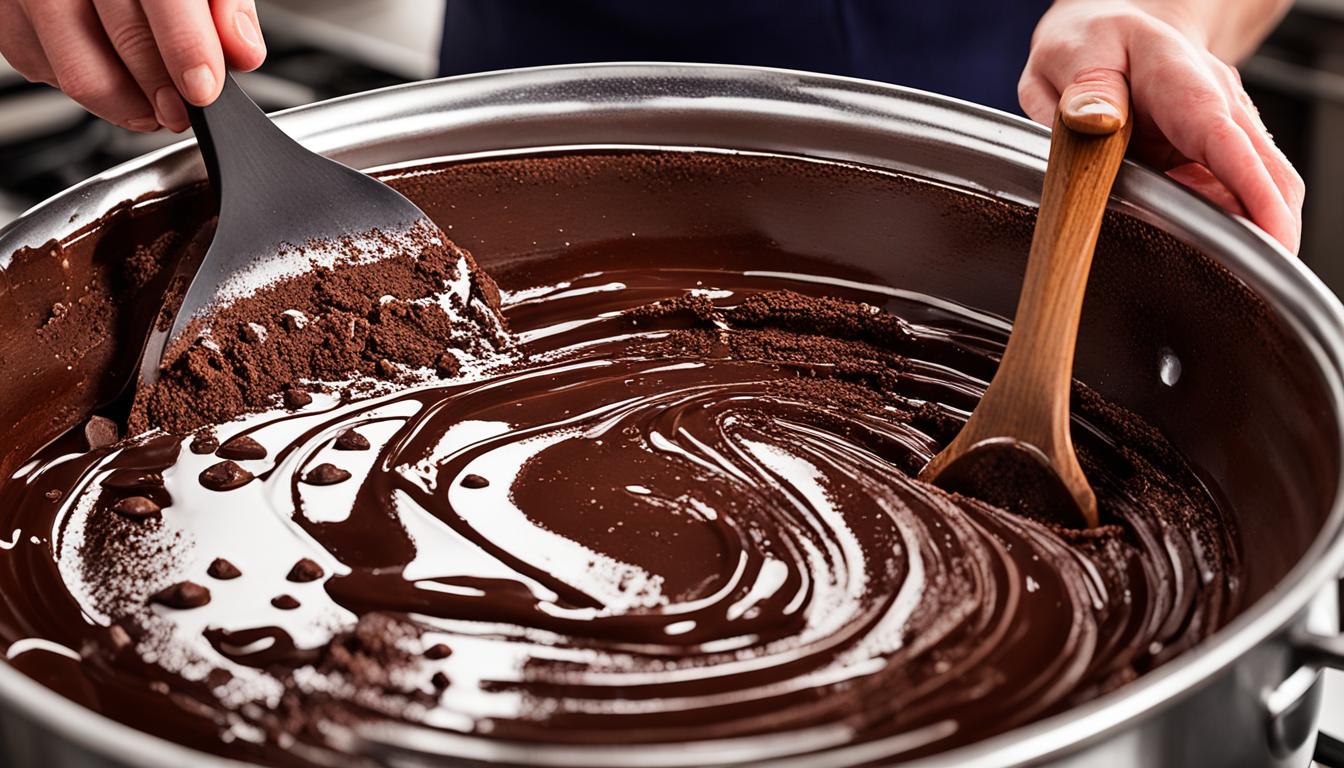
The next pivotal step is grinding the nibs into a smooth paste. Depending on the equipment at hand, this may take some time, but it’s a crucial phase that defines the texture of your chocolate. Perseverance will pay off with a velvety chocolate liquor that serves as the base for your confections.
Conching is where the flavor of your chocolate truly starts to blossom. This lengthy process of warming and aerating the chocolate helps in developing a smoother texture and more complex flavors. The duration of conching can dramatically influence the end product, with longer times generally leading to more refined flavors.
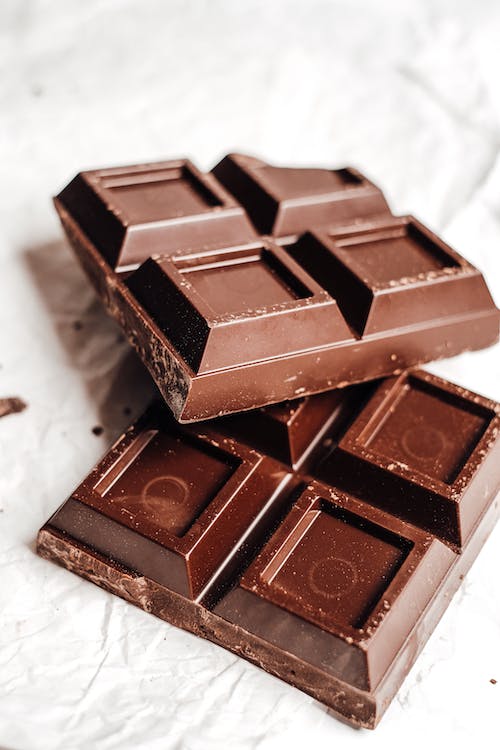
Finally, the tempering process. This step can be intimidating to novices, but it’s essential for achieving that glossy finish and satisfying snap. Proper tempering ensures that the cocoa butter in chocolate crystallizes correctly, leading to a stable end product that melts beautifully on the tongue.
There’s nothing quite like the pride and joy that comes from tasting your very own batch of homemade chocolate. By mastering these foundational steps, the chocolate making process at home can evolve from a hobby to an art form, bringing endless possibilities for customization and experimentation.
“Chocolate making is more than a process—it’s an art. Delight in the journey, from bean to bar, and savor the fruits of your labor.”
Refining Chocolate Making Techniques at Home
As you venture deeper into the art of chocolate creation, refining your chocolate making techniques is essential for producing professional-grade confections. It’s time to go beyond the basics and elevate your homemade chocolate to new heights of taste and presentation. In this segment, we’ll focus on advanced strategies that will enhance your chocolate recipes, tinkering with tempering, molding, and storage methods to ensure each batch is as delightful as those crafted by seasoned chocolatiers.
Mastering the Art of Tempering Chocolate
Tempering chocolate is a pivotal skill in your chocolate-making repertoire. It’s the key to achieving that perfect snap and brilliant gloss in your finished chocolate products. By carefully manipulating temperature, you encourage the correct cocoa butter crystals to form, giving your chocolate its professional quality. It may require patience and practice, but once you’ve mastered tempering, the quality of your chocolate recipes will soar, distinguishing your homemade chocolate from the rest.
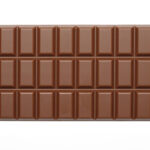
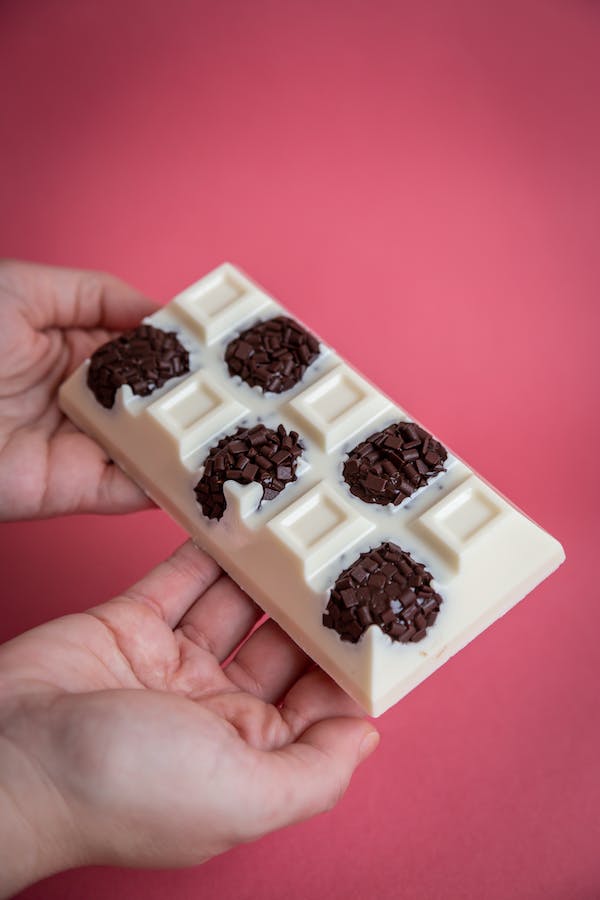
Creative Molding and Shaping
Chocolate molding allows for imaginative expression and personalization of each piece of chocolate. Whether you’re crafting chocolate bars, intricate truffles, or themed chocolate figurines, the variety of molds available can cater to any occasion. With a myriad of shapes and designs at your disposal, you’re able to imbue a piece of your personality into every chocolate creation. Creativity in chocolate molding and shaping not only enhances the visual appeal but also adds an element of fun to the chocolate making process.
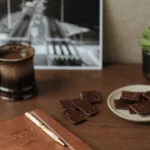
Storing Homemade Chocolate for Freshness
Last but certainly not least, proper storage is crucial for preserving the quality and extending the shelf life of your homemade chocolate. By keeping your chocolate at the right temperature and away from moisture, you’ll maintain its flavor profile and texture. Protecting it from strong odors and light will also prevent any unwelcome taste alterations. Knowing the ins and outs of storing homemade chocolate ensures that every bite remains as inviting as when it was first crafted, whether it’s enjoyed immediately or saved for later indulgence.
FAQ
What basic equipment do I need for making chocolate at home?
You’ll need a few tools to get started, such as a chocolate thermometer, a heat source like a microwave or a double boiler, a silicone spatula, baking sheets, parchment paper, a cocoa bean roaster (or an oven), a grinder, and molds for shaping your chocolate.
How do I choose the right cocoa beans for my homemade chocolate?
Look for high-quality, ethically sourced cocoa beans with a flavor profile that appeals to your taste. Factors to consider include the origin of the beans, the variety, and any reviews or recommendations from other chocolate makers.
Can you explain what cocoa percentages mean and how they affect my chocolate?
Cocoa percentage refers to the amount of cocoa solids in chocolate. The higher the percentage, the darker and more intense the chocolate flavor will be. Lower percentages result in sweeter, creamier chocolate, ideal for those who prefer less bitterness.
What are the basic steps in the chocolate making process?
The process typically involves selecting and roasting the beans, cracking and winnowing to remove the shells, grinding the beans into a paste, refining the chocolate, adding sweeteners and flavor enhancers, conching to develop flavor and texture, tempering to stabilize the chocolate, and finally, pouring it into molds to set.
What is tempering, and why is it important when making chocolate?
Tempering is a process of heating and cooling chocolate to stabilize the cocoa butter crystals, which gives the finished chocolate a glossy sheen and a crisp “snap” when broken. It also helps prevent the chocolate from melting too easily when handled.
How can I ensure my homemade chocolate maintains its quality over time?
Store your chocolate in a cool, dry place away from direct sunlight. Ensure it’s tightly wrapped or sealed in an airtight container to keep out moisture and other contaminates. Avoid storing it in the refrigerator unless necessary, as this can cause condensation and affect its texture and appearance.
Are there any creative ways to mold and shape my chocolate?
Absolutely! You can use a variety of molds available in different shapes and sizes to create your chocolates. You can even use items like ice cube trays or silicone baking molds for unconventional shapes. For a more artisanal touch, try hand-shaping your chocolate before it fully sets.
What sweeteners and flavor enhancers work well in homemade chocolate?
Common sweeteners include cane sugar, maple syrup, and honey. For flavor enhancers, you might incorporate vanilla extract, espresso powder, sea salt, nuts, dried fruit, or even spices like cinnamon or chili powder to add complexity to your chocolate.
Do I need any special techniques to add inclusions like nuts or fruits?
No special techniques are required, but be sure to evenly distribute your inclusions throughout the chocolate before it sets. If you’re using fruit, make sure it’s thoroughly dried to prevent moisture from affecting the texture of the chocolate.
What if my chocolate doesn’t come out perfectly on the first try?
Don’t worry—chocolate making is as much an art as it is a science. It may take a few tries to perfect your technique. Be patient with yourself, and don’t be afraid to experiment and learn from your mistakes. Practice makes perfect!